I'm not Italian.
I do love Italian and American-Italian dishes. However, it's very rare when I come across a great calzone. Pizza is always a treat, but calzones are downright comforting. The last time I had one it was dry yet very greasy, and stuffed with ricotta, my least favorite cheese. Chewing it was a mealy experience. So when I found a fab link on
Pinterest that lead me to a beautiful
calzone recipe, I jumped on the chance to serve it up. Not only was it comforting, it was
classy.
I make my own dough (recipe below) but you can go to your favorite pizzeria and buy dough from them, ready to use. My recipe is the equivalent of two large pizza pies. If you make your own dough, use a good bread flour. This is important. Bread flours have more gluten than all-purpose, and the more gluten, the better. That is why pizza crusts are good and chewy, soft on the inside yet crisp on the outside. I use either 00 Flour from Italy, or
King Arthur Perfect Pizza Blend Flour.
I stuffed the first one with sliced leftover turkey meatballs that I had stored in the freezer. Meatball and bell pepper...mmm, hungry yet? The next calzone was a pepperoni and jalapeno...and I give my hubby all the credit for these tasty topping choices.
Use your own sauce or buy a jar - you cannot go wrong either way. Save some for dipping! The cheese choice was 2% low-moisture mozz. No need to get fancy with that!
If you have a pizza stone, either for your oven or grill, please use it for this recipe. I have a Pampered Chef round stone for the oven and a Crate and Barrel stone for the grill. Once you make your own pies, you'll find take out pizza less appetizing, I promise!
Classy Calzones
Ingredients:
1 cup very warm water, plus 1/4-1/2 extra during mixing
2 1/4 tsp. fresh instant yeast (I use SAF instant yeast from King Arthur Flour)
1 tsp. sugar or a splash of white or sparkling wine
1 tbsp. extra virgin olive oil
3 cups good bread flour
1 tsp. sea salt
Directions:
Preheat oven to 225. Place pizza stone (if you have one) on the bottom rack of the oven. Place a large bowl lightly greased with olive oil near the warm oven, but not too close.
my fave pizza flour
my pizza making helper
In the bowl of a standing mixer, add the one cup of water, sprinkle yeast on top, and add a splash of wine or the sugar. Let stand for 5 minutes until foamy.
yeast spoon...a worthy investment
chemistry!
Add the oil, flour, and salt and slowly combine. Add more water if it's too dry, then once combined, let sit for another 5 minutes. This rest period is crucial for really good, chewy crust. After the rest period, turn mixer back on and knead for 10 minutes or until the dough is very elastic. Turn out into the prepared bowl.
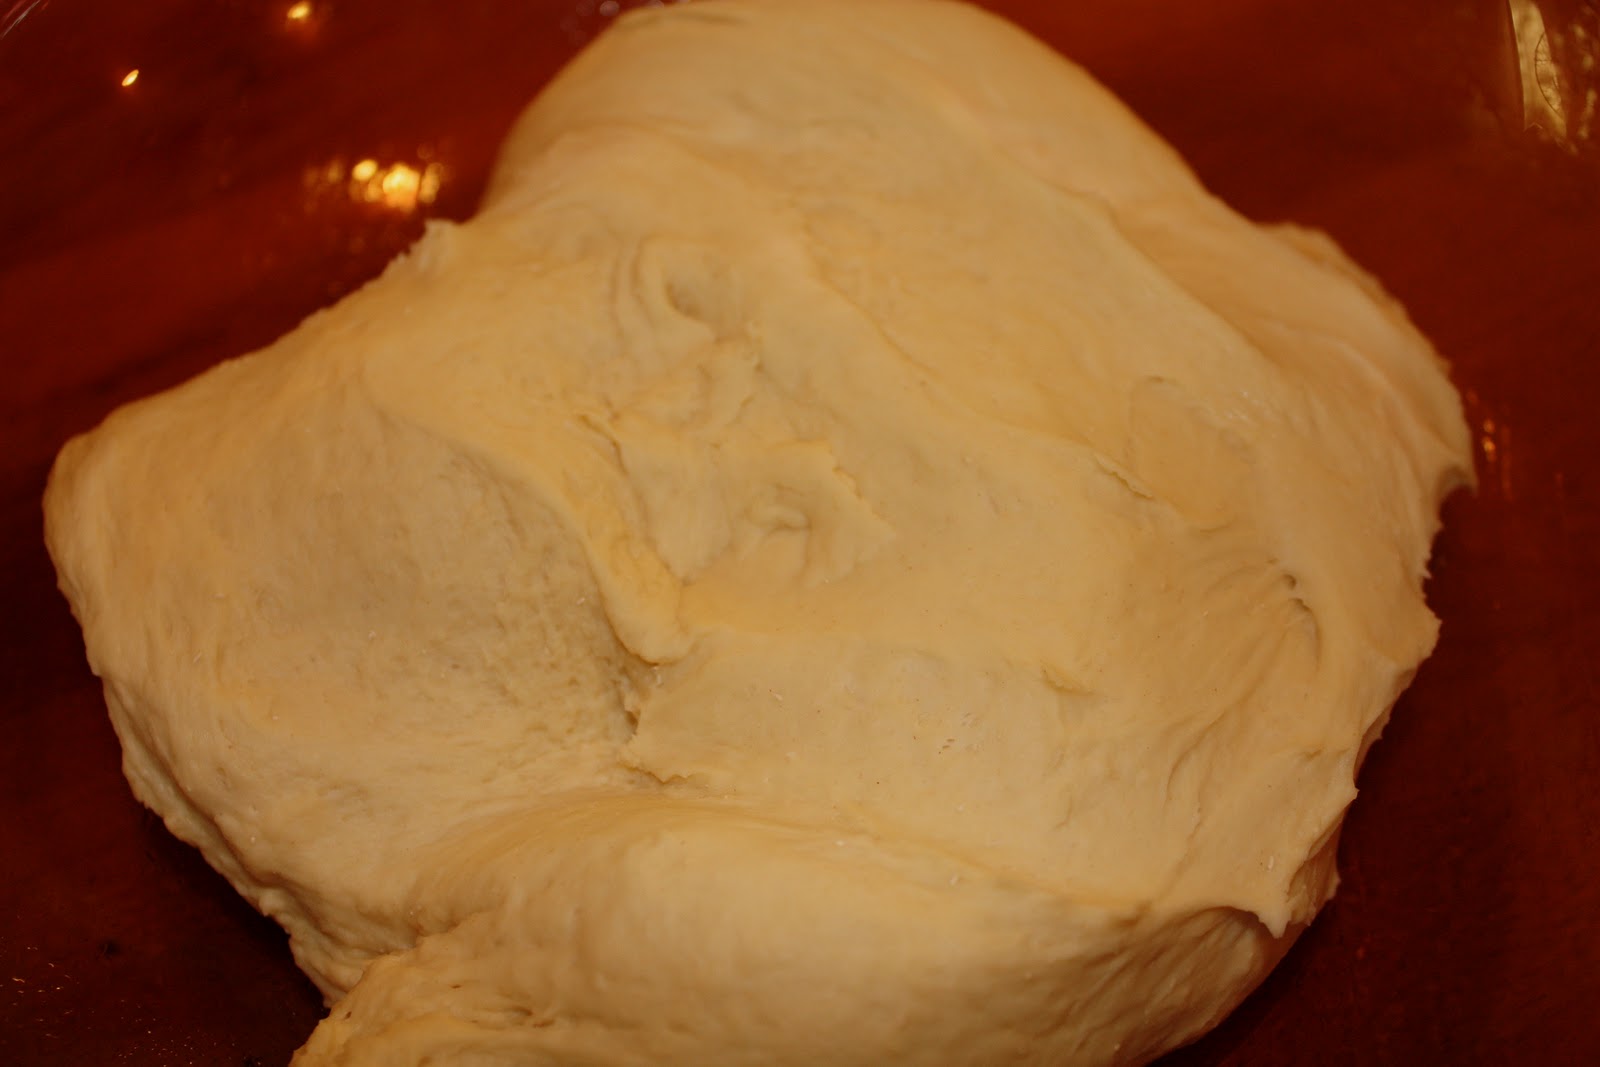
Cover with plastic wrap, cover with kitchen towel, and let rise for one hour in its warm location near the oven. You'll know it's ready when you stick a finger or handle of wooden spoon into dough and the indentation stays. Once ready, preheat oven to 450, or as high as your stone will allow. I preheated mine to 445. Turn dough out onto floured surface and divide into two pieces. Prepare a foil tray by taking one sheet of non-stick foil lengthwise and a smaller piece under that, width-wise (as in photo below). Roll one piece of dough into no more than 18x12. Spread sauce down center, leaving a wide margin on the sides for your crossover pieces (photo to follow). Add toppings, then cheese.
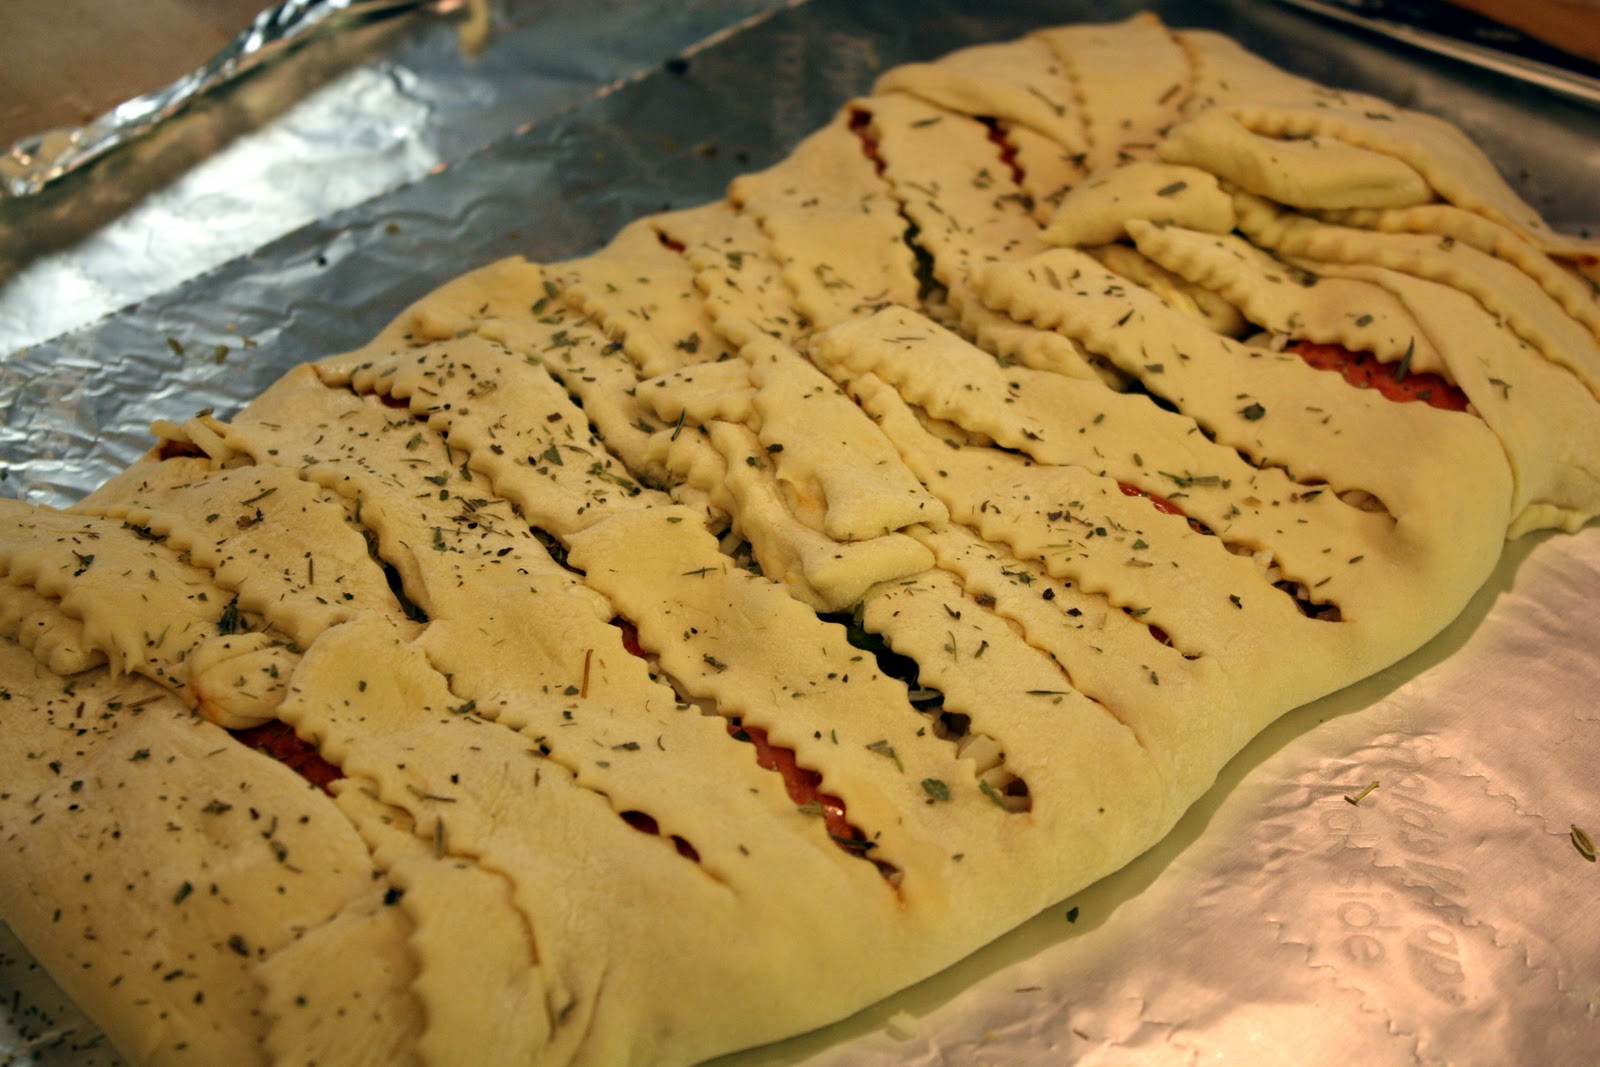
Make slices into the sides of the calzone (I used a fluted pastry wheel, but a pizza cutter works fine).
Fold pieces over one another, working left to right or right to left.
Bake at 450 for 12-15 minutes or until bubbly and browned. Repeat with the next portion of dough.
Finished Meatball and Pepper Calzone
Finished Pepperoni and Jalapeno Calzone
Cool on a wooden board (the foil makes a great liner for easy clean up) and wait 5 minutes before cutting. My hubby cut the calzones initially with a sharp knife to create the cut, but used the pizza cutter to finish each slice. This prevented all the toppings from oozing out. Smart man!
Serve with dipping sauce if desired and listen for all the "mmm" sounds that will soon follow!
Gooey Goodness!!